Neutron v2 Devblog: New Features, New Visuals
Neutron v2 Devblog: New Features, New Visuals
Since my last post introducing the Neutron v2 game engine, I’ve been hard at work refining the architecture, adding new features, and pushing the visual fidelity of the engine. Here’s a look at what’s new, with some fresh screenshots from recent builds:
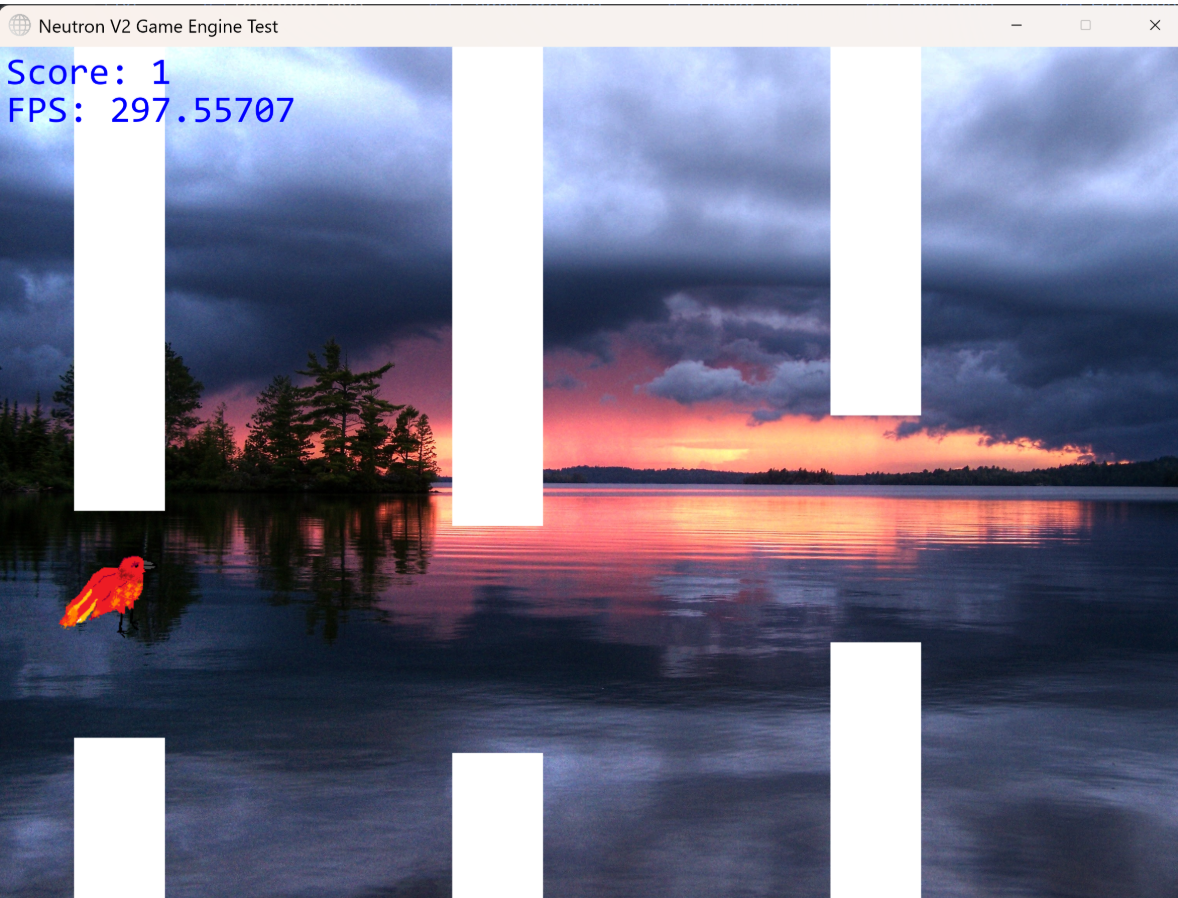

To sort of demo the engine’s capabilities so far, I’ve created a clone of geomtry dash you can play now. That’s the image above there. It’s a real blast trust me.
Let’s dive into implementation
New Resource Manager
Resoures are now all children of a super class, Resource which contains other properties like: filePath and id.
When defining an object or scene, these resources can be warmed by calling the ResourceManager.fetch() method. We’re using a map to store each asset’s id and the Resource, which is currently either an image or sound file.
From then on, the id is the internal referer for that object. We employ a three seperate maps for internal handling:
- idMap: Long → Integer This is the public API layer. Game code says “give me resource #42069” and this map translates that into an internal handle. Like when you order from a menu with numbers, instead of saying the dish name.
- handleMap: Integer → Object
The actual storage of the asset that has been loaded.BufferedImages and Sound objects live here. Handles are just sequential integers (1, 2, 3…) that get bumped up with
nextHandle++. - pathMap: String → Integer This serves as a deduplication layer. Before loading anything new, it stores and checks if the existing path being requested to load has been loaded before. If yes, reuse the existing handle, no need to waste time and memory on reading from the disk again. If no, load it fresh and cache the path to handle mapping.
This system prevents loading the same texture 50 times when 50 enemies that all use the same sprite. Handling deduplication at this layer, kind of meant everything else was safe.
It was important to have this logic be in the core of the asset system. Not a layer tacked on top.
Rendering: Z-depth, Shaders, Coordinates
z-depth was easy. Usually, the render draws pixels on top of each other in the order that GameObjects comes in. Adding z-depth simply meant allowing all GameObjects implementing ObjectRenderer to return a value for z-depth. Then upon instantiation of the game object, it is inserted according to the order determined by the z-depth.
If the z-depth changes after insertion, the solution isn’t hard - and I think I’ve got a quite elegant solution. There’s a set that stores the in z-depths of every game object. Each frame we check for changes, and cache the current values in the set. If a change from last fram is detected, a insertion sort (O(n)) places the moved objects to the correct depth before the frame is drawn.
Shaders. Basically, this was a bit of a hack job. A shader can be defined as a lambda function in java, where the two inputs are coordinates x and y defined in ranges [0, 1]. The author writes a function that turns these coordinates into a color.
To actually render / draw the shader, we hack the image drawing. First, we render the shader into a bitmap, stepping through all x and ys (scaled of course) and getting the resulting colors.
Then this image is just drawn using the already defined Renderer.drawImage().
Although x and y were between 0 and 1, we scaled simply created images the screen size of the shader being draw:
BufferedImage bitmap = new BufferedImage(width, height, BufferedImage.TYPE_INT_ARGB);

for (int x = 0; x < width; x++) {
    for (int y = 0; y < height; y++) {
        // Normalize coordinates to [0, 1]
        double u = (double) x / width;
        double v = (double) y / height;

        // Call your function to generate the color
        int rgb = computePixelColor(u, v);

        bitmap.setRGB(x, y, rgb);
    }
}

// Draw the generated bitmap at screen position (sx, sy)
this.drawImage(bitmap, sx, sy, null);
With the new UI, coordinates had to be in screen space. But I wanted an origin anchoring system to make UI simpler.
For example, placing things in the top right corner was easy: drawText(x: 20, y:20, "Hello!") as padding was just the x and y coordinates. But doing this for the other corners were hard.
So I added a coordniate anchor. Before a rendering call, set the anchor: Renderer.setAnchor(Renderer.MIDDLE_TOP)
Now, the x, y cooridnates passed into the drawText method are automatically converted to be relative to the middle top of the screen being 0, 0. This is great because it works across screen sizes too. Convienient stuff.
OnEnter, OnExit: Intersection / Collision Code
Collision is always a tricky one.
I added a debugging tool to help with this: Renderer.setRenderColliders(true). This renders all the bounding boxes defined on screen, each with different colors, so you can tell them apart.
In terms of the collision logic itself, not much changes apart from bug fixes and optimizations. There was a bug were the onExit function wouldn’t reliably trigger, because the engine didn’t treat separation as occuring for both objects. That’s now fixed.
Audio Touch Ups
I’ve kind of been unsure as to exactly how I want the user to be able to interface with and use audio in the engine.
But I’ve come up with a neat, rule based system and manual triggering system that should afford simple and clean implementation with customizability and fine-grain control.
Essentially, any GameObject can inherent the interface SoundEmitter. That interface requires a function to be implemented like so:
@Override
public SoundRule[] defineSounds() {
    return new SoundRule[] {
        new SoundRule(ResourceManager.getSound("walk.wav"), () -> isWalking, 0.5f, "player-walk", false),
        new SoundRule(ResourceManager.getSound("bang.wav"), () -> isShooting, 1.0f, "player-shoot", true)
    };
}
Then, these get passed added into a class, SoundHelper, that manages and checks these rules every frame, playing the audio clip, if the rule specified is satisfied.
For individual or the custom timed playing of a clip, any object can directly call SoundManager.play(). SoundEmitter just does the heavy lifting for annoying objects that may be emitting many ambient sounds. It also moves the sound code apart from the rest of the logic. Now the movement code, can be soley about movement, not the sound as well.
… And that’s all for now
Thanks for reading. I’ve really enjoyed progressing the engine further and seeing it get more ready for production. I’d say we’re currently 60% done with the core feature set and 70% done with the code polish.
Once the core features are in, bug tested and polished to 100%, I’ll be thinking about Neutron v3, where I’ll create a GUI, AI integration and maybe an XML scripting / translation layer.
Anyway, until next time.
Oh - And as always, the engine (in all its glory) can be found here: GitHub
And just for the short form recap: What’s New?
1. Enhanced Rendering Pipeline
- Improved batching and z-depth sorting for smoother, more layered visuals
- Added support for custom shaders, enabling per-pixel effects and post-processing
- More flexible camera and coordinate systems for dynamic scenes
2. Modular GameObject System
- Expanded the interface-driven design: now you can mix and match rendering, physics, input, and collision behaviors even more easily
- Example: a
Playerobject can implementObjectRenderer,Collidable, andKeyboardInputfor full control
3. Physics & Collision Upgrades
- Added swept AABB collision detection for more accurate, high-speed interactions
- New collision callbacks:
onEnter,duringCollision, andonExitfor richer gameplay logic
4. Audio & Input Improvements
- Overlapping sound playback and tag-based audio management
- More robust input event handling for both keyboard and mouse
Code Example: Modular GameObject
Here’s a simplified example of how you might define a player in Neutron v2:
public class Player extends GameObject implements ObjectRenderer, KeyboardInput, Collidable {
    private int x, y;
    private float vx, vy;

    public void play(GameCore gameCore) {
        x = 100;
        y = 100;
    }
    public void update(GameCore gameCore, float delta) {
        // Movement logic
        if (Input.isKeyDown(KeyEvent.VK_LEFT)) x -= 2;
        if (Input.isKeyDown(KeyEvent.VK_RIGHT)) x += 2;
        y += vy;
    }
    public void render(GameCore gameCore, Renderer r) {
        r.fillRect(x, y, 50, 50, Color.BLUE);
    }
    public List<Collider> getColliders() {
        return List.of(new Collider.RectangleCollider(x, y, 50, 50, "player"));
    }
    public void onEnter(GameObject other, String id) {
        // Handle collision
    }
}